Shopping note: We discuss what to look for, rather than claim hands-on testing. Current shopping links are ordinary retailer links. Affiliate disclosure.
A protective cap can make a makeup tool seem ready for a small bag, but a cover that merely slides over the handle may not be suitable for the brush. Check the intended pairing before treating an unrelated cap as interchangeable. The tool's shape and its care requirements matter more than a tidy-looking collection.
Establish what the cap belongs to
Read the product information supplied with the brush and cap. Some covers are designed for a particular tool, while others have a stated range of uses. Keep the components together with the relevant information so the original pairing does not become unclear after the packaging is discarded.
If you find an unidentified cover in a drawer, do not assign it to the nearest brush by colour alone. Look for the maker's markings or compare with retained documentation. Where identity remains uncertain, leave the cap out of the working kit until its appropriate use can be established.
Check the fitting movement
Follow the intended method for putting the cover on and removing it. Keep the bristles clear of the edge rather than pushing them inward to make the cap fit. Stop if the cover catches or requires force. A protective accessory should not depend on repeatedly bending the brush head into an unsuitable space.
Notice whether the cap closes and remains in its intended position without pressure from another object. Do not use a tightly packed pouch to hold an insecure cover on the tool. That hides the mismatch and can make removal awkward when the brush is next needed.
Keep care separate from packing
Follow the brush maker's cleaning and drying instructions before returning the cap. A cover is not a substitute for completing care, and its apparent cleanliness does not establish the condition of the tool inside. Avoid improvising a drying method solely to finish packing sooner.
Check the cap itself according to its own instructions. Materials and construction can differ from the brush handle. If cleaning guidance is missing, seek relevant information rather than assuming that every component can be treated with the same product or immersed together.
Try the complete kit arrangement
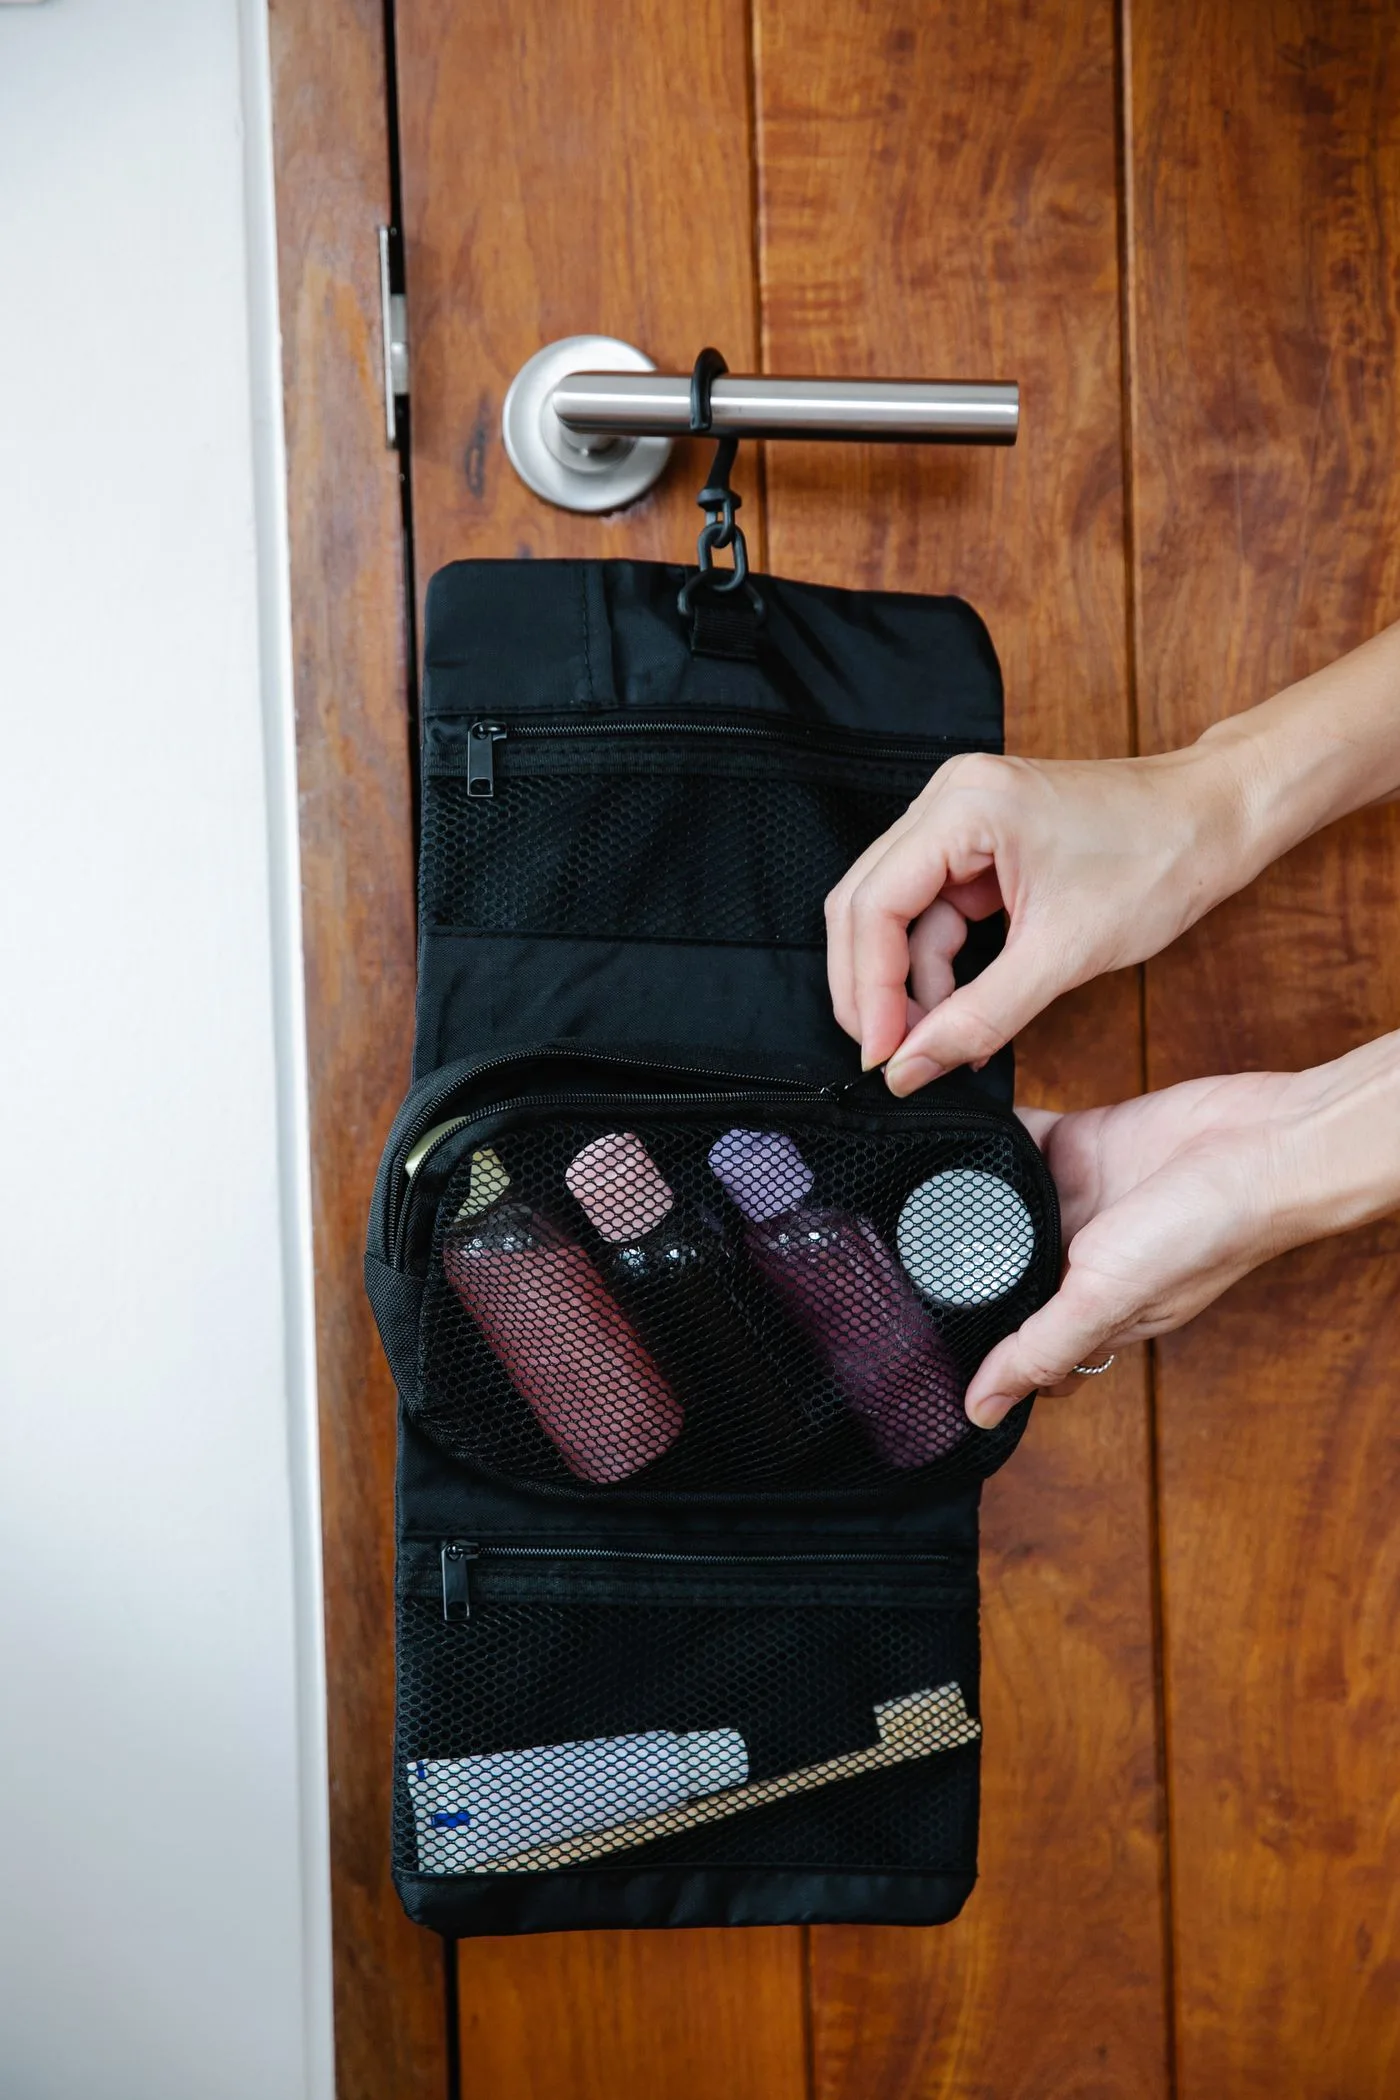
Place the appropriately prepared tool in its intended pouch with the ordinary contents. Ensure the cap is not being crushed beneath a heavy compact or caught by the zip. A compatible cap can still be poorly positioned within a bag that is too crowded for the tools selected.
Remove and replace the brush once without emptying the whole kit. This shows whether the arrangement is practical during use rather than just at the end of a careful packing session. If the cover repeatedly becomes separated, reduce the immediate contents or choose a more suitable carrying arrangement.
Avoid an unidentified spare collection
Keep spare covers only when their purpose remains clear. A small labelled storage place outside the daily kit can be enough; the label need not be attached to the brush itself. Retain replacement information for a valued tool so a missing cap does not prompt an unsuitable substitution.
Review the pairing when a brush is replaced. Similar appearance does not prove that the previous cover is compatible with the new model. Completing that check keeps a compact beauty kit understandable and allows protective components to perform their intended role without creating additional pressure on the tools.
Related reading
A Five-Minute Makeup Bag for Busy Mornings, Inspect the Lining Before Choosing an Everyday Makeup Pouch.
Published and last updated November 12, 2024. Send an editorial correction.